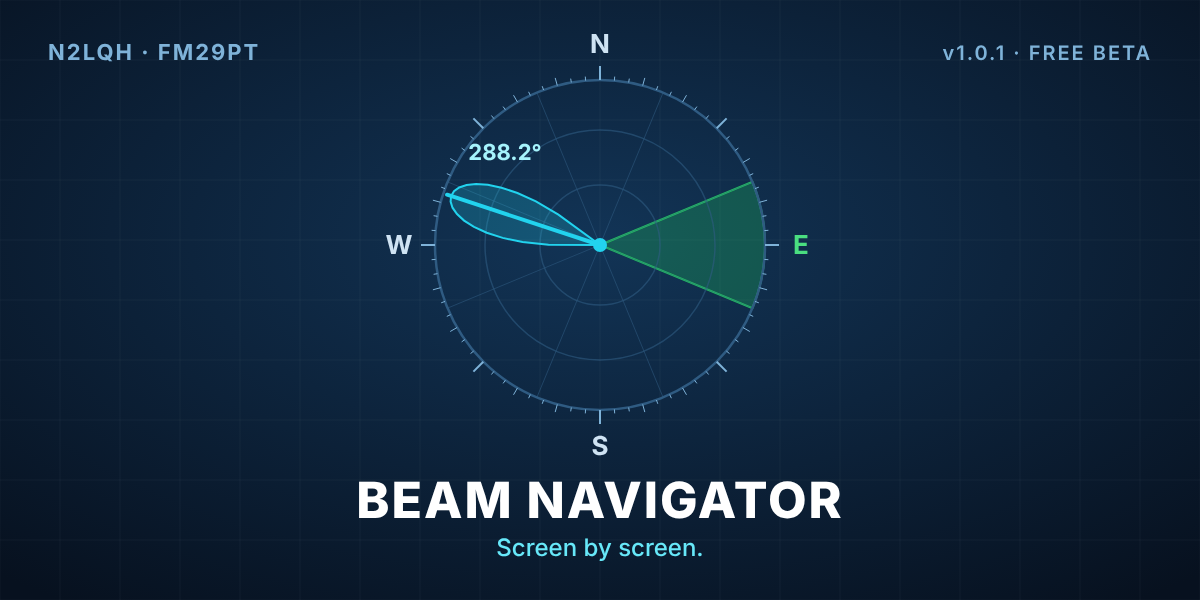
The story of why I built Beam Navigator is over on the Projects page. This one is the tour.
Every screen in version 1.0.1, what it does, and what the user guide has to say about it. The guide quotes are in the boxes. The rest is me.
Grab a cup of coffee.
Start with your station
Everything in Beam Navigator is worked out from where you are. So that’s the first thing it asks.
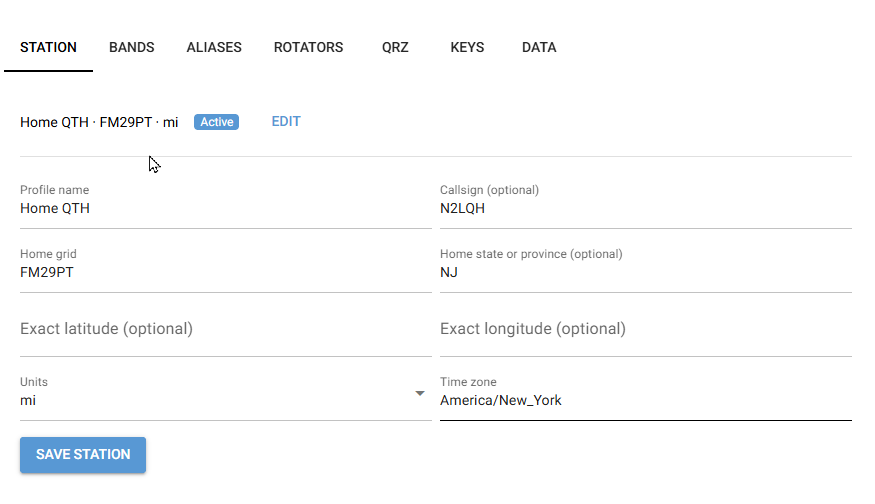
Enter your callsign (optional), home grid, units (km or mi) and time zone (for net times, for example America/New_York).
The callsign is optional. The grid is not. If you know your exact latitude and longitude, there’s a spot for those too.
Bands
Each band remembers whether you care about long path.
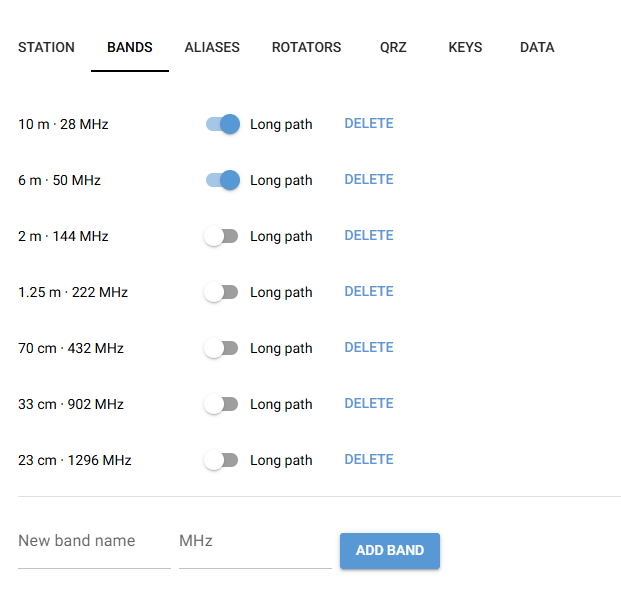
On bands set to long path (10 m and 6 m by default; Settings → Bands), the long-path bearing and distance are shown too.
On 2 meters and up, long path doesn’t matter for me. On 6 meters during a good opening, it might.
The dashboard: type anything
This is the screen I leave open. One big box. Type something, press Enter, and you get a bearing.
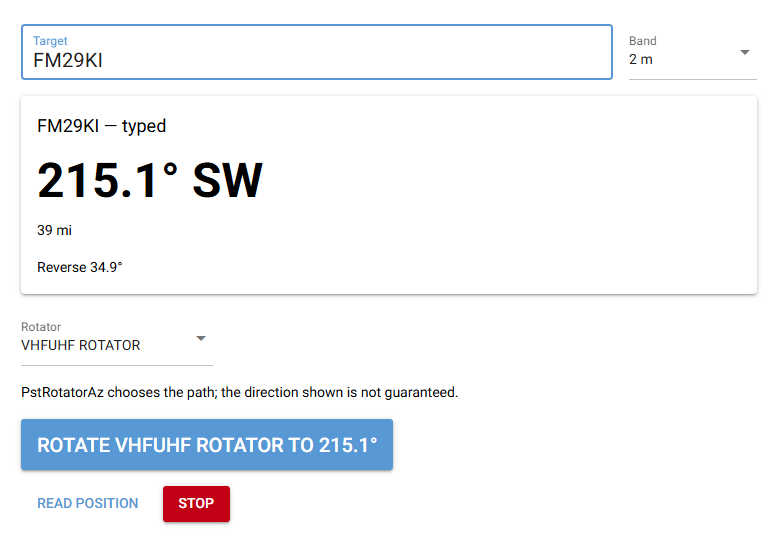
Type a target in the big Target box and press Enter. You see what it resolved to and where that came from, the true bearing (one decimal place), the 16-point compass name, and the distance in your units.
It takes almost anything. A grid square:
A plain compass point, when net control says “southwest” and that’s all you’ve got:
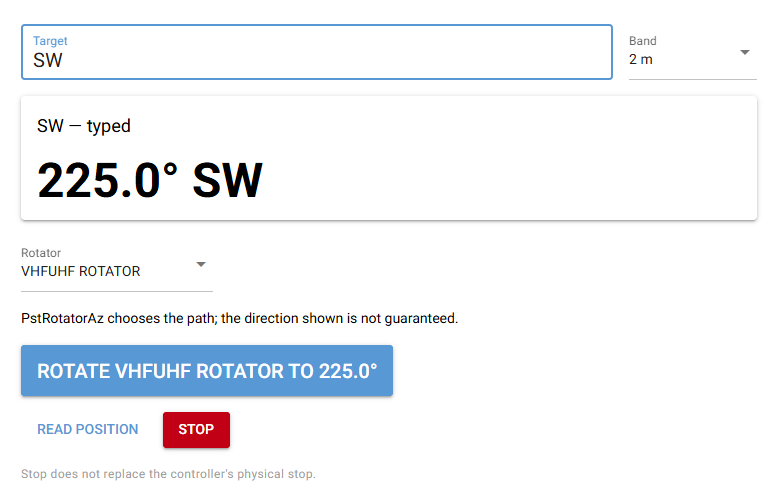
NE means Northeast; Nebraska is offered as a one-click alternative.
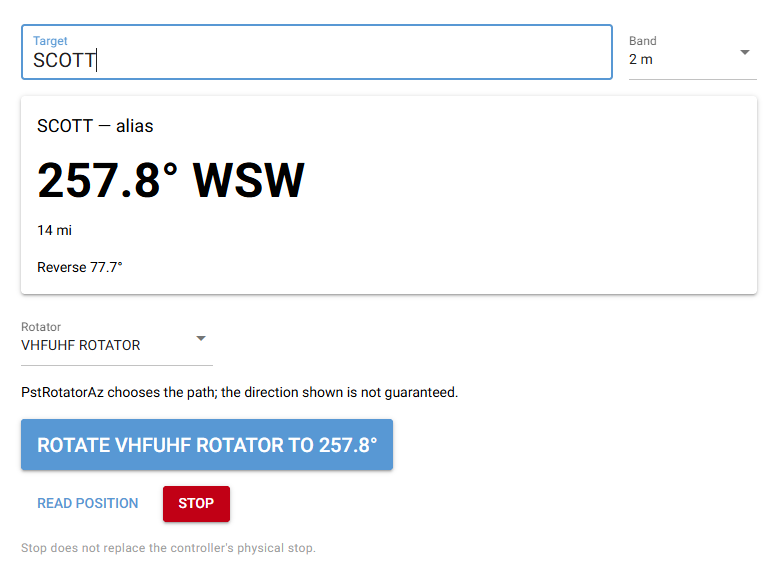
A shortcode you set up yourself:
Or a callsign. If you have a QRZ login, a call it doesn’t know yet gets looked up on the spot:
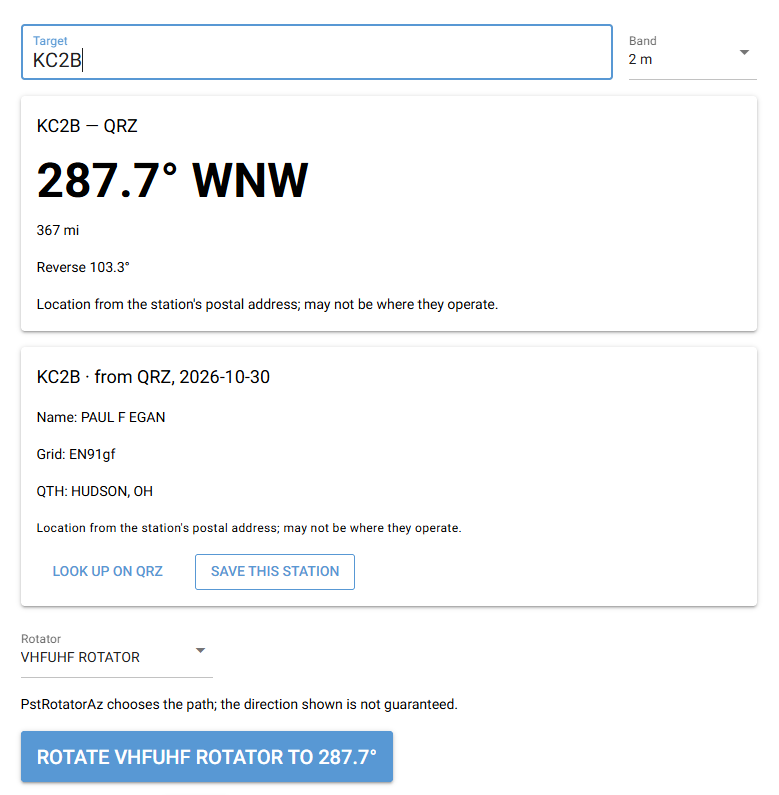
Beam Navigator never guesses a location.
That one line matters more to me than most of the features. No grid, no bearing.
The Rotate button always says exactly what’s going to happen, down to the tenth of a degree. Nothing turns until you press it.
Aliases
Shortcodes for the places you point all the time.
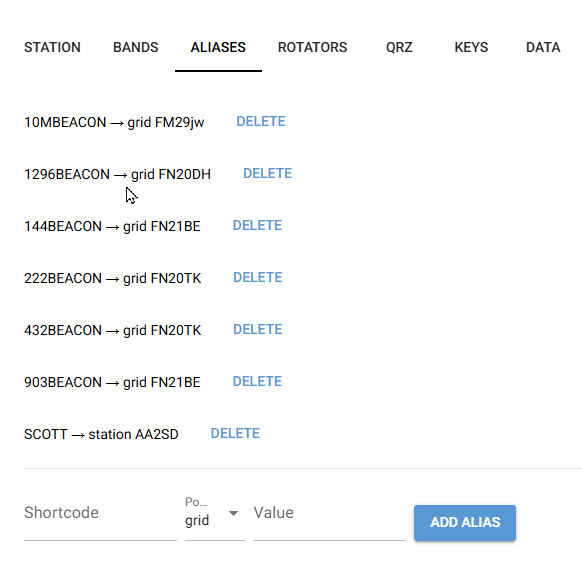
I set one up for every beacon I use to check my antennas. An alias can point at a grid or at a station, so when a station’s grid changes, the alias follows.
Rotators
This is the part I was most careful about. The app talks to PstRotator or PstRotatorAz on Windows, or to Hamlib’s rotctld on anything.
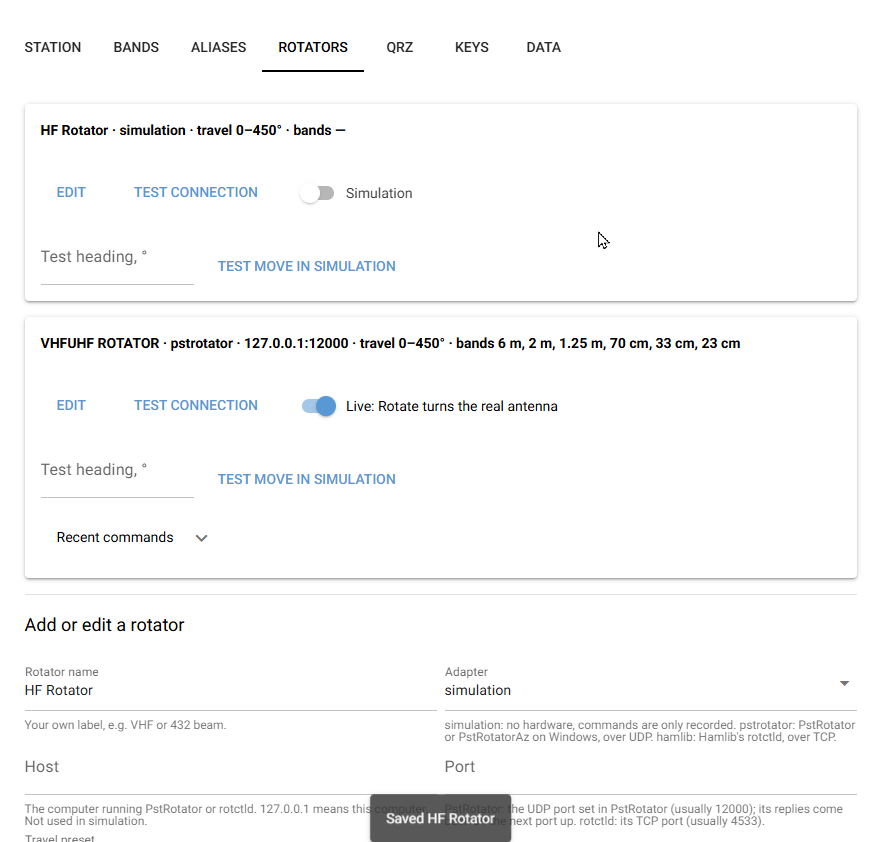
A new rotator always starts in simulation: Rotate moves a pretend rotor so you can try everything safely.
To go live, press Test connection. Only after it passes can you turn on the Simulation switch; it then reads Live: Rotate turns the real antenna.
There’s also an offset. If your beam points at true north when the rotor says 5°, you enter 5 and every heading gets corrected. Check yours against a beacon before you trust it.
If the rotator reports no position, Beam Navigator says “Command sent — position unverified” rather than claiming the beam got there.
QRZ lookups
Optional, and only if you have a QRZ XML Data subscription.
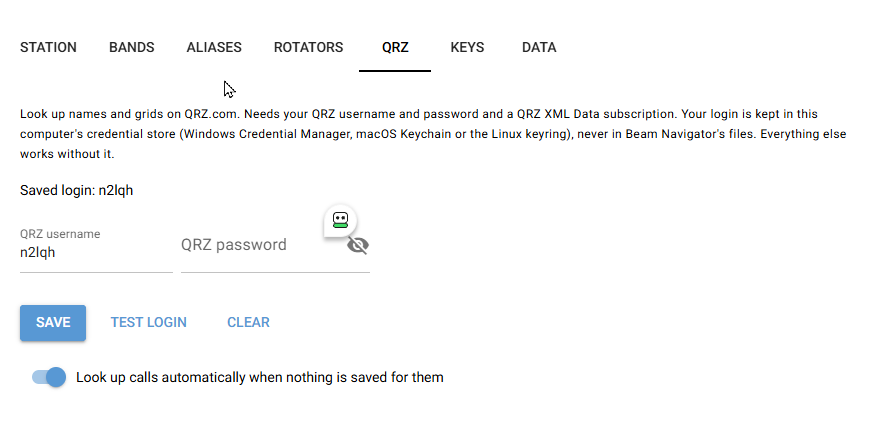
Your login is kept in your computer’s credential store (Windows Credential Manager, macOS Keychain or the Linux keyring), never in Beam Navigator’s files or backups.
QRZ only fills blanks: it never overwrites a grid from a roster or one you typed.
Everything else works without it.
Nets
The nets list is where your Monday and Friday nights live.
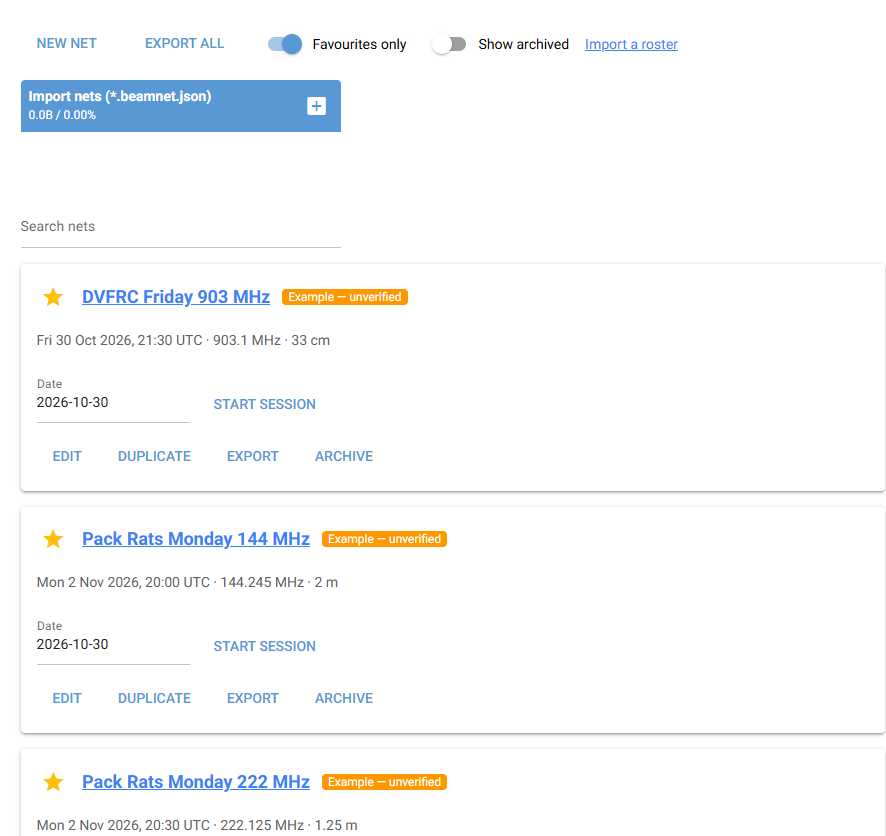
The first time you run it, Beam Navigator offers a set of example nets.
Beam Navigator offers example nets from a published Pack Rats schedule. They are marked Example — unverified until you check them.
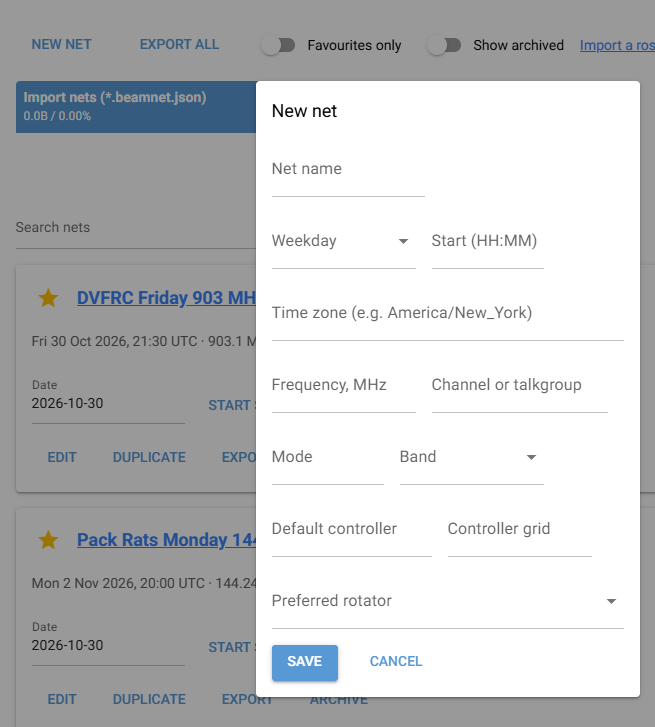
Adding your own net takes one dialog. The controller’s grid is the important field. That’s what makes “Controller → you” work.
Open a net and you see the next session, who’s running it, past sessions and who usually checks in.
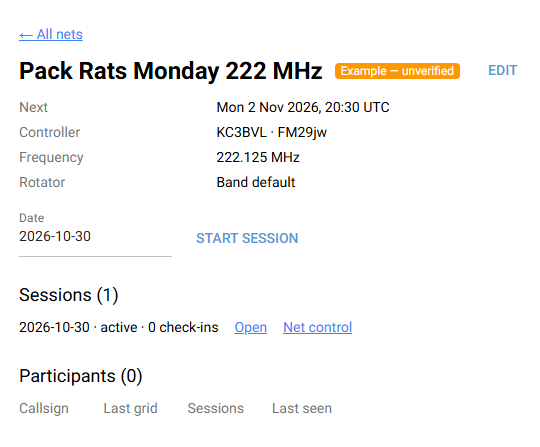
Start session begins tonight’s session; each session has Open (the live net screen) and Net control.
Importing the roster
After the net, the roster goes up on the reflector. Paste it in.
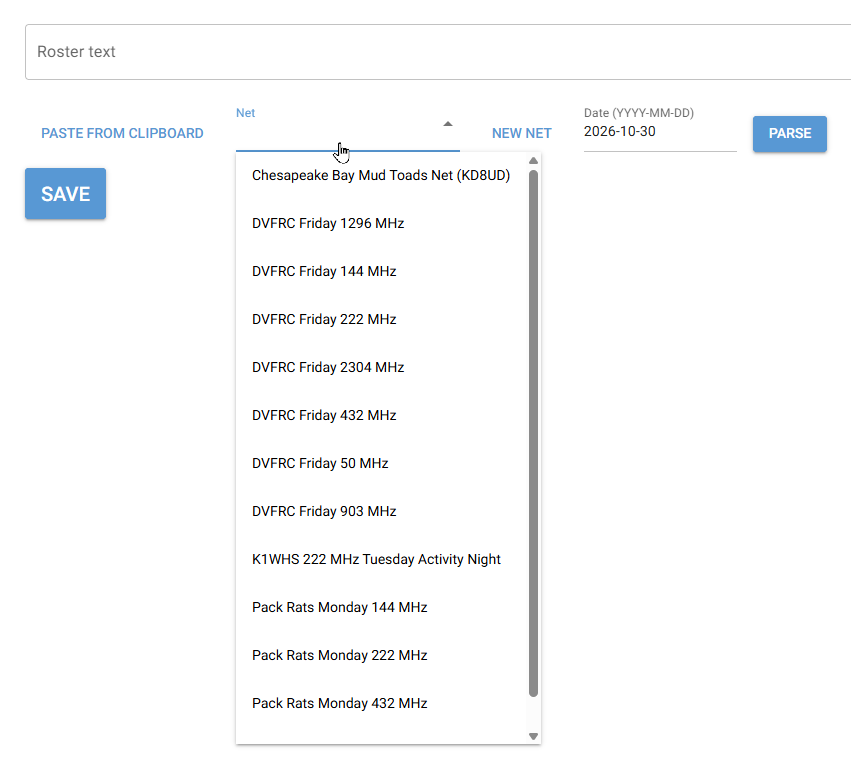
The review table shows each station with its bearing and distance from you. A bearing printed in the roster is shown as Published for reference only.
Anything Beam Navigator can’t read is kept as an “Unparsed text” row, never thrown away.
Do this every week and the regulars stop being strangers.
Following a net
This is the screen I built the whole thing for.
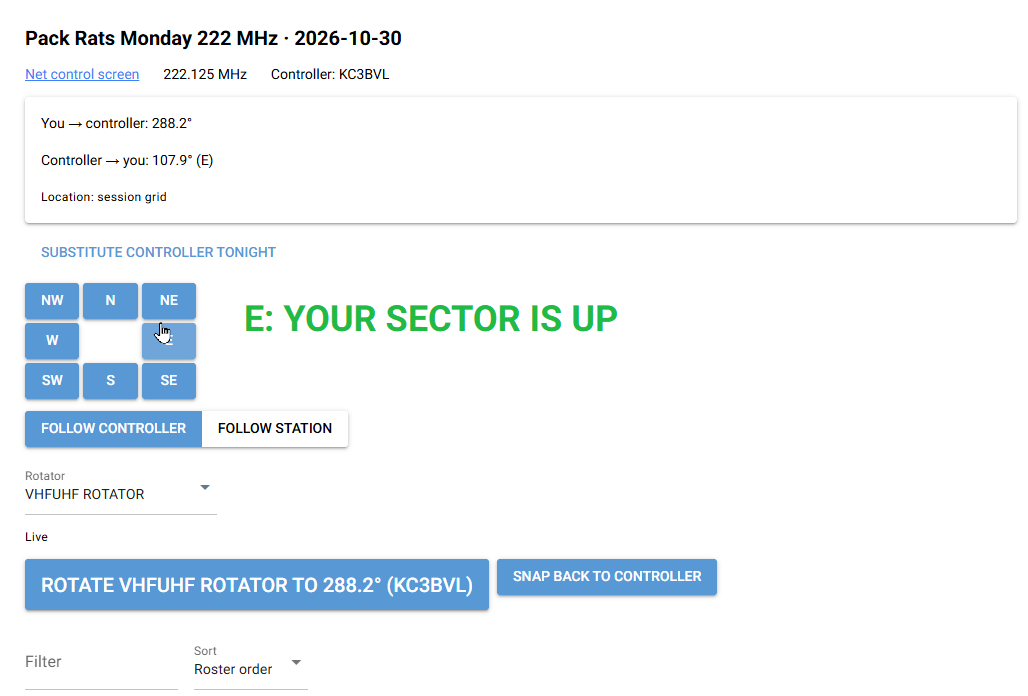
You → controller is where you point to work net control. Controller → you is where the controller must point to hear you, with its sector. It is worked out directly from the controller’s location, not by adding 180°.
When the controller announces a direction (“anyone to the northeast?”), press its number-pad key (8 N, 9 NE, 6 E, 3 SE, 2 S, 1 SW, 4 W, 7 NW) … If it is your sector, a large YOUR SECTOR IS UP banner appears. It never claims the controller can hear you.
Home snaps the beam back to net control. If someone else is filling in tonight, Substitute controller tonight takes their call or grid for this session only.
You can also mark each station Heard, Weak, Not heard or Via relay. Those marks are private. They never show up in an export.
Running a net
For the net controllers, the entry line works like a contest logger.
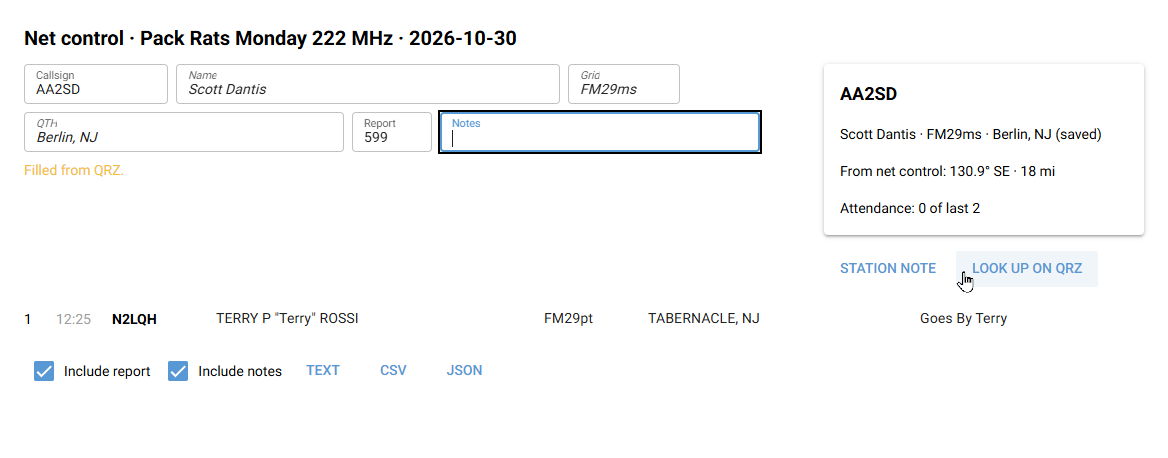
In Callsign, the first Enter fills in Name, Grid and QTH from history (or from QRZ, marked “Filled from QRZ.”) and moves to Name; the next Enter logs the check-in.
While you type a callsign, matching stations are listed, the most regular first; the arrow keys choose one.
Try to log someone twice and it offers to update the first entry instead.
Publishing the roll call
When the net’s done, export it.
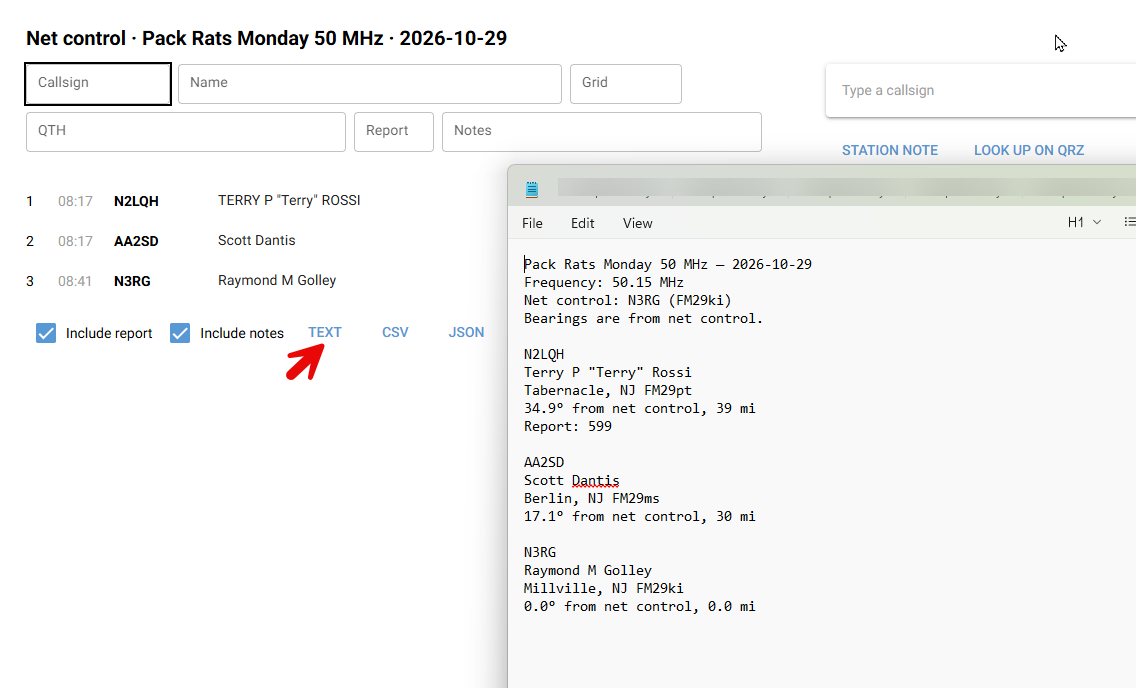
Export the roll call as Text, CSV or JSON. Bearings are labelled “from net control”; if net control’s location isn’t known, they are from your own station and say so.
Names and QTHs get tidied into proper case on the way out. The text version is ready to paste right into the reflector.
Keys
Every shortcut can be changed.
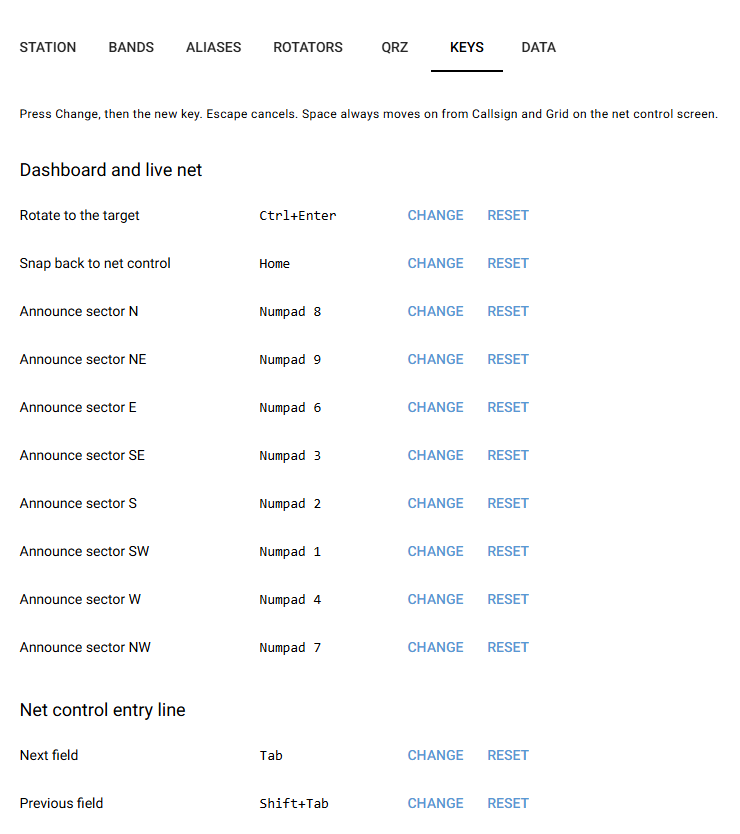
Keys that move the rotator (Rotate and Snap back) need Ctrl or Alt, or a key that never types, such as F9, Home or a number-pad key.
That rule is on purpose. A stray keystroke while you’re typing someone’s name should never swing the tower.
Backup
Everything lives in one file on your computer, and one button backs it all up.
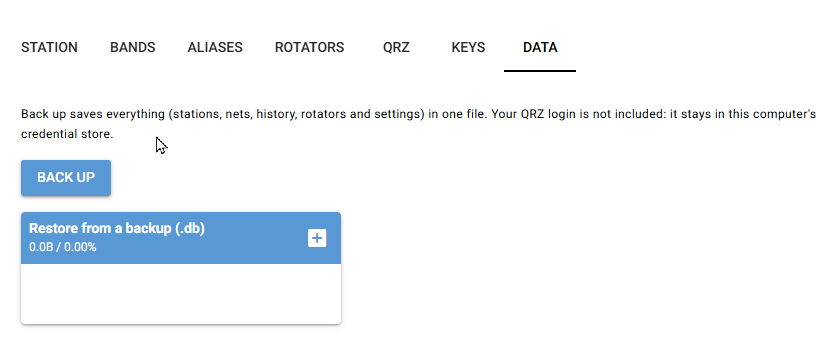
After a restore, every rotator is in simulation. Run Test connection and switch Live back on.
Same idea as before. A fresh restore never turns the antenna until you’ve tested it.
Installing on Windows
It’s one file, BeamNavigator.exe. No Python needed.
Because the file is not signed, Windows may say Windows protected your PC. Choose More info, then Run anyway.
A black console window opens, then your browser opens Beam Navigator. Keep the console window open while you use the app; close it to stop Beam Navigator.
On macOS, Linux or a Raspberry Pi, the install goes through uv. The user guide on GitHub has the steps.
Get it
Version 1.0.1 is a free public beta, and I want to hear what breaks. Email beam-navigator@n2lqh.com or open an issue on GitHub.
Point where it says. Then listen.
73 de N2LQH · Terry Rossi · South Jersey